
Getting Started
This guide will help you take your first steps on the DocCoreX platform.
1. Accessing the Platform
To begin, log in through the DocCoreX sign-in screen:
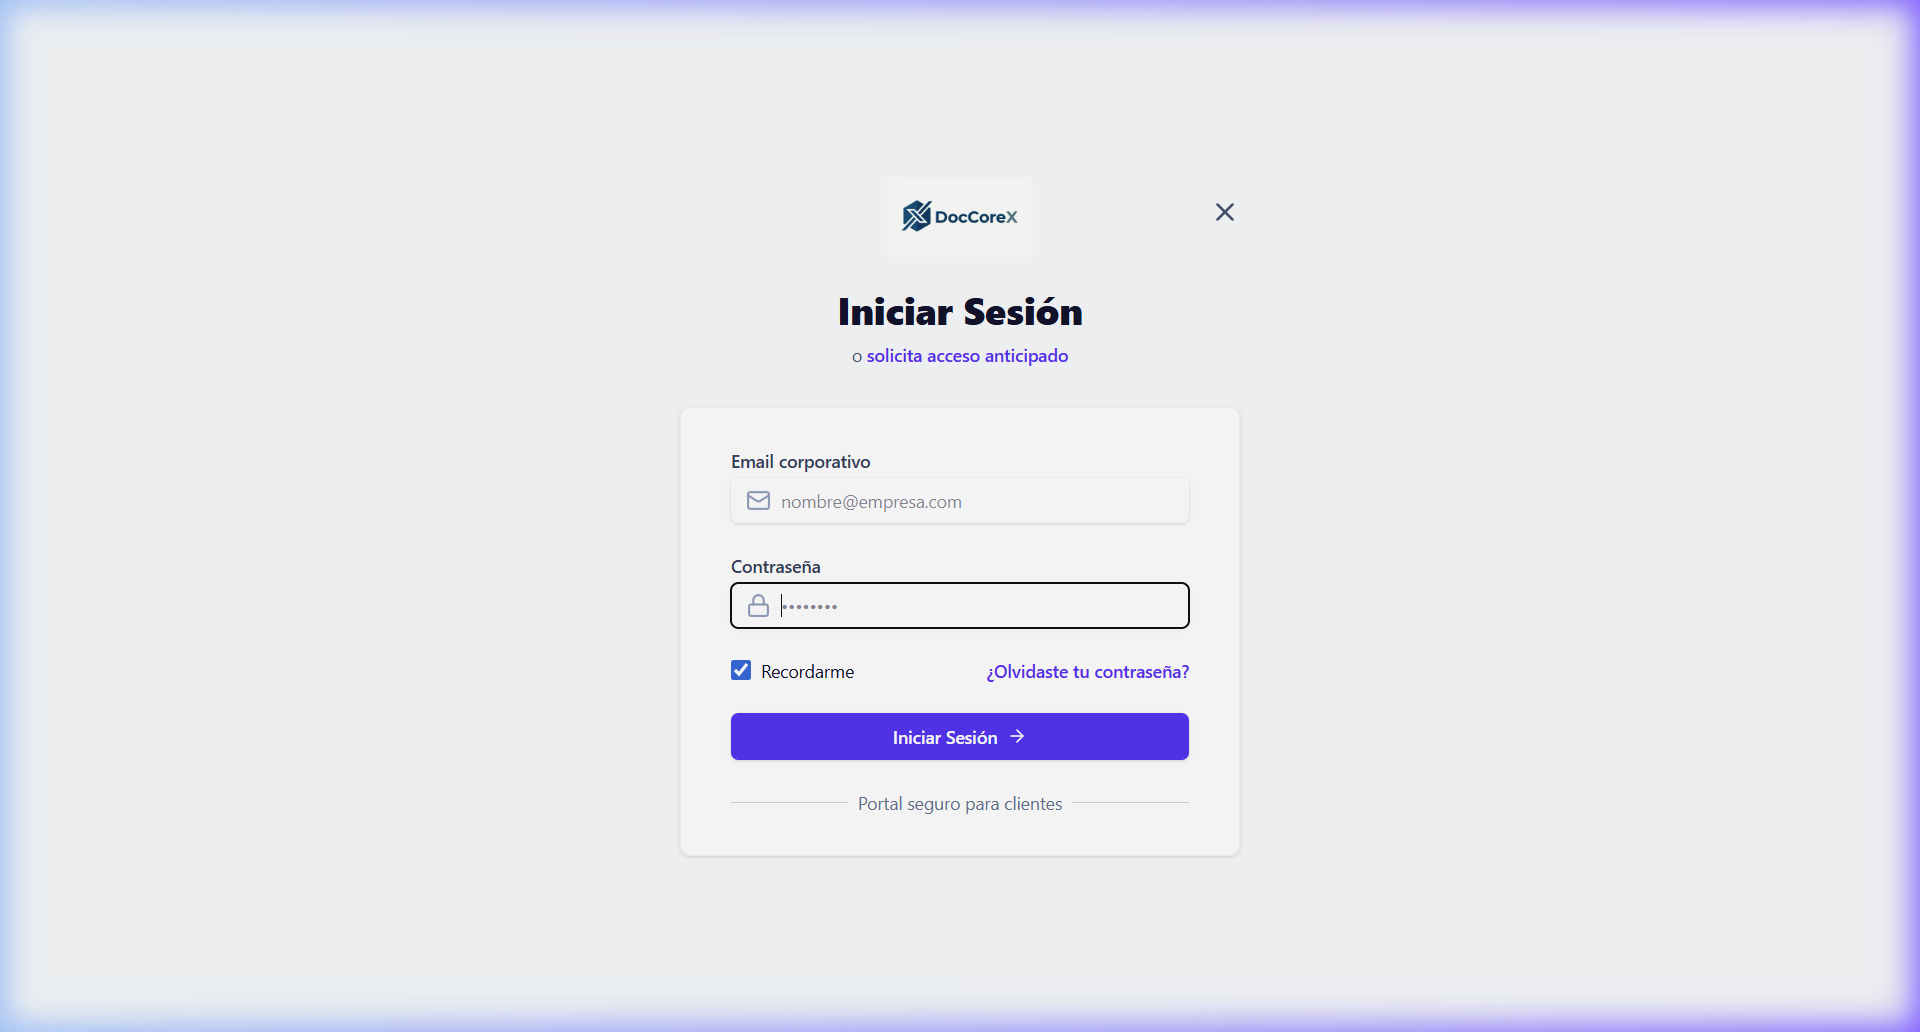
From there, you can navigate to the two main tools:
- DocCoreX Studio: To create and edit templates visually.
- DocCoreX Vault: To securely manage your finished documents.
2. Basic Concepts
- Template: The visual definition of your document. It contains the layout and placeholders for data (
{{variables}}). - Visual Designer: A No-Code tool for dragging and dropping components.
- Rendering: The process of combining your data with the template to generate the final PDF.
3. Your First Template
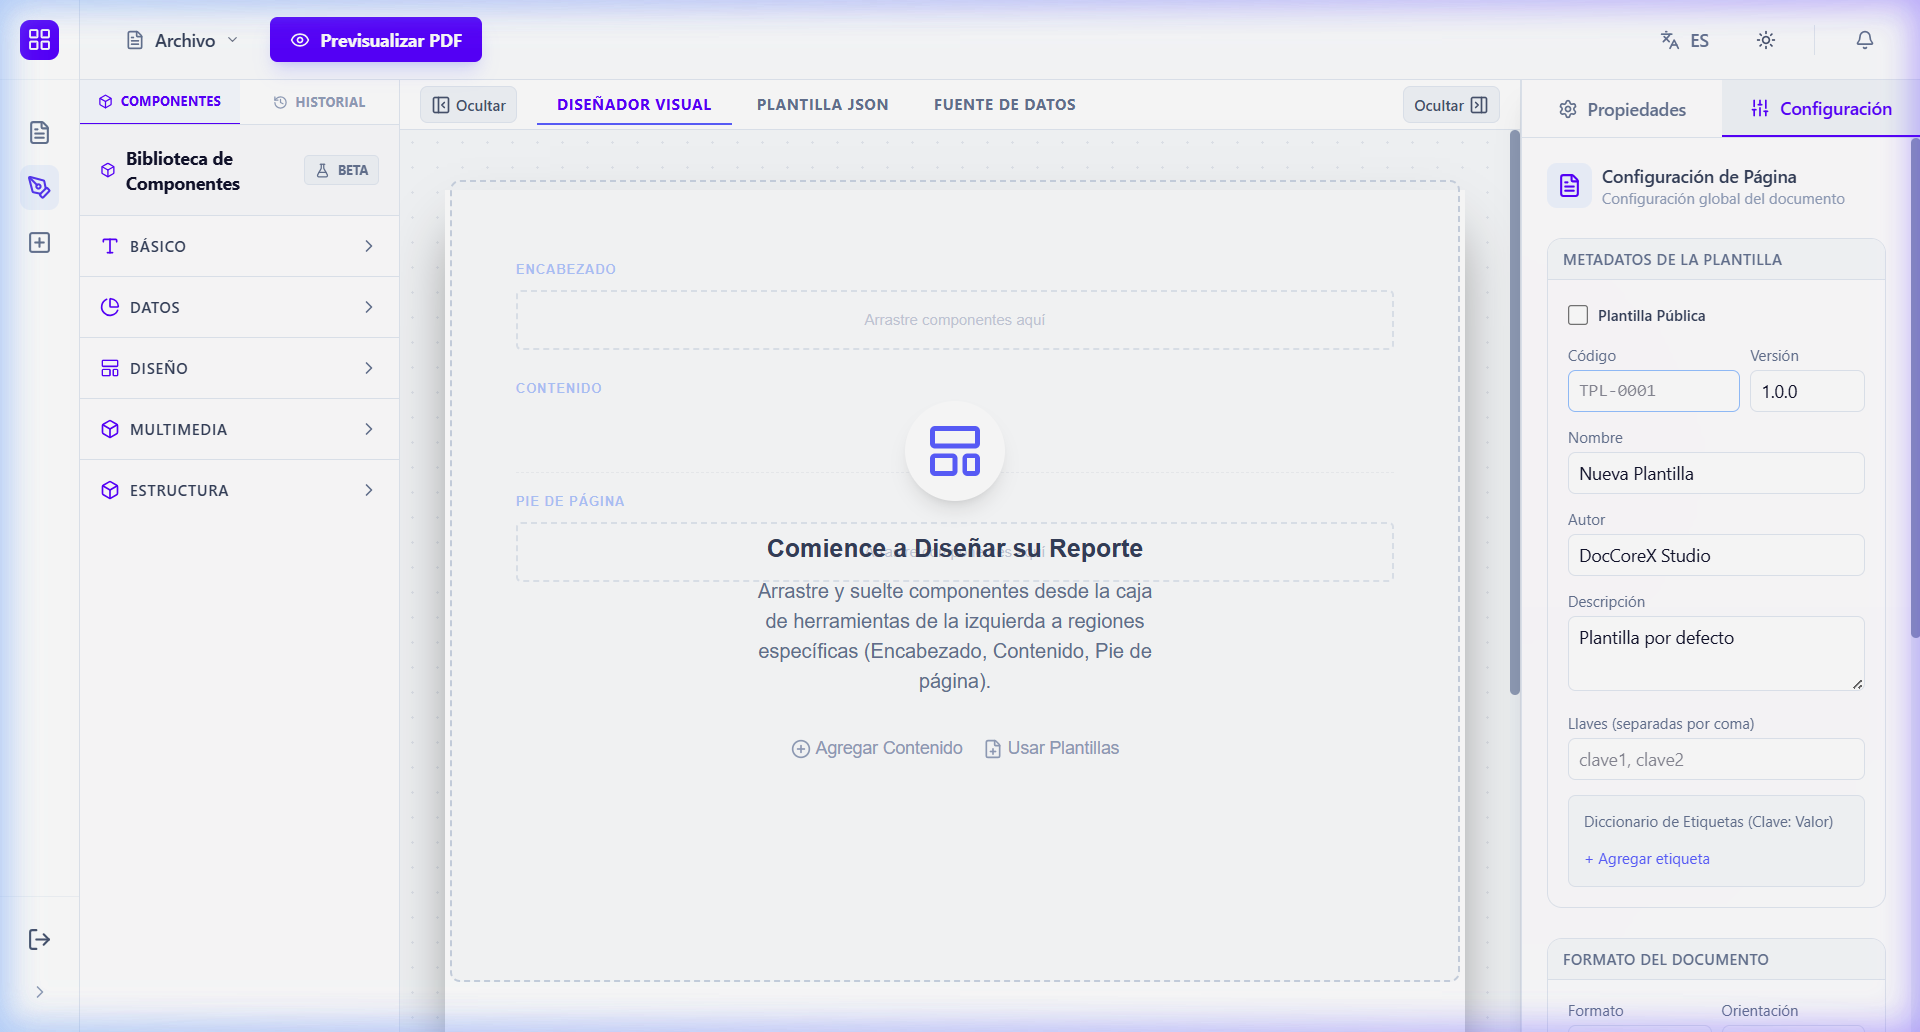
- Enter DocCoreX Studio.
- Click “Add Template” to start a blank canvas or edit an existing one.
- Use the Left Panel to drag and drop new components (Text, Images, Tables).
- Select a component to adjust its Properties (colors, fonts, borders) in the right panel.
- Press Preview PDF to see the actual result.
[!IMPORTANT] Remember to press “Save” to sync your changes with the server. The system also features automatic temporary saving.